写在前面 typora几个命令
安装
https://jingyan.baidu.com/article/48b37f8dd141b41a646488bc.html 包含了环境变量的设置
系统变量相关 ##查看环境变量
path
npm config ls -l
默认环境变量
nodejs安装后的全局路径默认为(自动添加进了Path用户系统变量 ):C:\Users\ccb\AppData\Roaming\npm
修改nodejs缓存目录和全局目录(区别全局安装和本地安装两个路径)
全局安装和本地安装的区别:https://www.jianshu.com/p/e839326ce30d
npm config set prefix “D:\ProgramFiles\nodejs\node_global” 最终模块配置位置,注意在这个就下会再次创建一个node_modules 文件夹(这个属于全局安装路径,类似全局环境变量),而安装目录原有nodejs\node_modules 这个文件夹属于本地安装,程序内相对路径,只对整个程序中放在该路径下的模块起作用。
npm config set cache “D:\Program Files\nodejs\node_cache” 存放缓存文件的位置
设置和修改环境变量
修改系统变量:计算机 高级 编辑或新建系统变量,有命令可以设置路径变量(todo)
NODE_PATH :D:\Program Files\nodejs\node_modules ;npm的环境变量,个人理解应该是给使用模块定义了系统变量,寻找本地安装模块时使用(局部安装?)
同样,修改系统变量Path中 原来的C:\Users\ccb\AppData\Roaming\npm 为:D:\ProgramFiles\nodejs\node_global 个人理解这里应该对应的是全局系统变量,调用全局安装模块时用到
node命令
命令行下输入node
命令相关
node 进入node
require(‘moudulename’) 引入模块
npm install npm安装命令 -g代表全局安装
npm i bootstrap@3 @ 指定版本
node 中 ctrl 悬停变量 ,点击会转到定义
修改后自动启动服务器:npm i -g node-dev (nodejs作为服务器,js文件修改后不会自动生效,html修改后会自动生效),这个命令全局安装,只要文件修改,crtl s后会自动重启服务器,之前的启动命令是npm start ,其实最终是node ./bin/www,因此修改package.json中的start,即可修改为node-dev执行
hbs语法
Handlebars1 2 3 4 5 6 7 8 9 10 11 12 13 14 15 16 17 18 19 20 21 22 23 24 25 > 插值绑定 {{prop}} > > 注释 {{!content}} > > HTML内容 {{{htmlStr}}} ,不对内容进行转义,原模原样的输出,则最终按html解析 > > 条件语句 {{#if condition}}...{{/if}} > > ** condition只能是布尔值或者可以转换为布尔值的值,他不能是表达式 > > ** 可以结合{{else if condition}}、{{else}}使用 > > 循环语句 {{#each arr}}....{{/each}} > > ** each可嵌套 > > ** 使用this或者.表示上下文,常用语数据是值的情况 > > ** 使用@index,@key > > ** 遍历对象 @key > > ** 结合{{else}},当数组为空时显示特别信息 > > - {{with 变量名}} {{/with}} 限制当前属性为变量的,省略.的写法
webstorm
ctrl + alt + l 对齐代码
CTRL k 清空控制台
鼠标中键或ctrl+单击 到定义
别人给的项目 先用npm -i 安装一下依赖(根据packagejson)
iter 回车 自动生成 for of 循环
1 2 3 4 5 6 7 8 9 10 11 12 13 14 15 16 - script:src tab键 - alt+enter 快速import # node连接数据库 - 安装mysql 运行时依赖:npm i mysql -S - 引入mysql 设置连接 - 查询 query(sql, value, function) sql语句 参数 回调 -
1 2 3 4 5 6 7 8 9 10 11 12 13 14 15 16 17 18 19 20 21 22 23 24 25 26 27 28 29 30 31 32 33 34 35 36 37 38 39 # 异步asycn await // 2s 之后返回双倍的值 function doubleAfter2seconds(num) { return new Promise((resolve, reject) => { setTimeout(() => { resolve(2 * num) }, 2000); } ) } async function testResult() { let first = await doubleAfter2seconds(30); console.log('after first'); let second = await doubleAfter2seconds(50); console.log('after second'); let third = await doubleAfter2seconds(30); console.log('after third'); console.log(first + second + third); } testResult();//里面只解决异步的回调需要嵌套的情况,和此并行的其他代码放到后面 console.log('after testResult');//因为testResult异步,所以一边去执行testResult,一边继续往下执行到这,所以会先输出after testResult 结果: after testResult after first after second after third 220 # 文件操作 - 读取当前文件夹下所有文件夹名,根据文件名过过滤 filter和foreach是数组方法 -
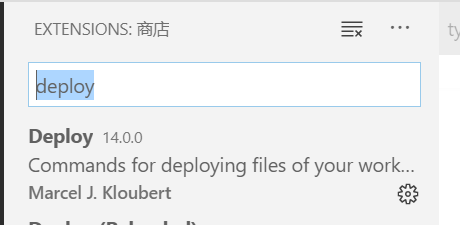
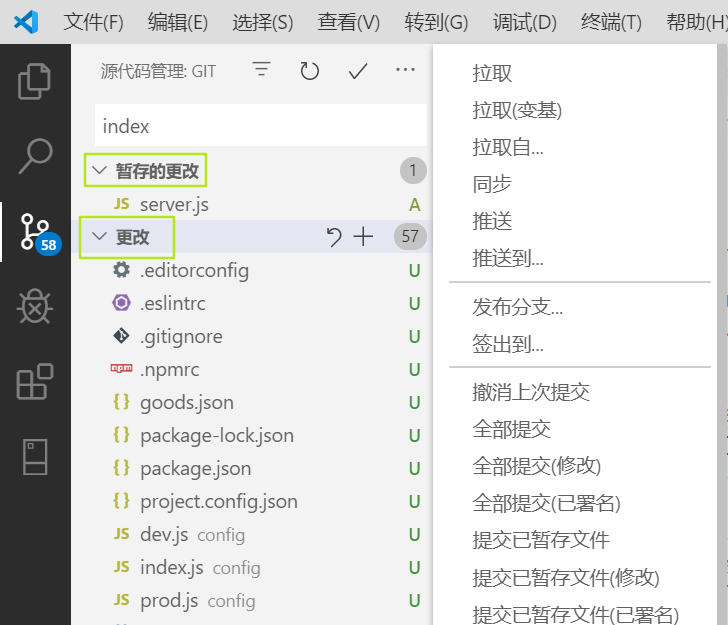
1 2 3 4 5 6 7 8 9 10 - 文件上传 - npm i multer -S # git - 官网中 然后直接搜索相关的库 比如handlebars # node路由传参
# restful api

- 新建http文件  手写  执行